
you might (or might not) remember the post where a truck delivered a lot of soil and some other stuff. i am quite sure that had it been for us to haul the 2000 liters of soil to the shack, i might still be dreaming about my patch 3 yrs from now. last week, when i no longer had any excuses and the weather was decent enough and i had this brand new "cultivator" (that needed assembly first) i got started.

safety first...
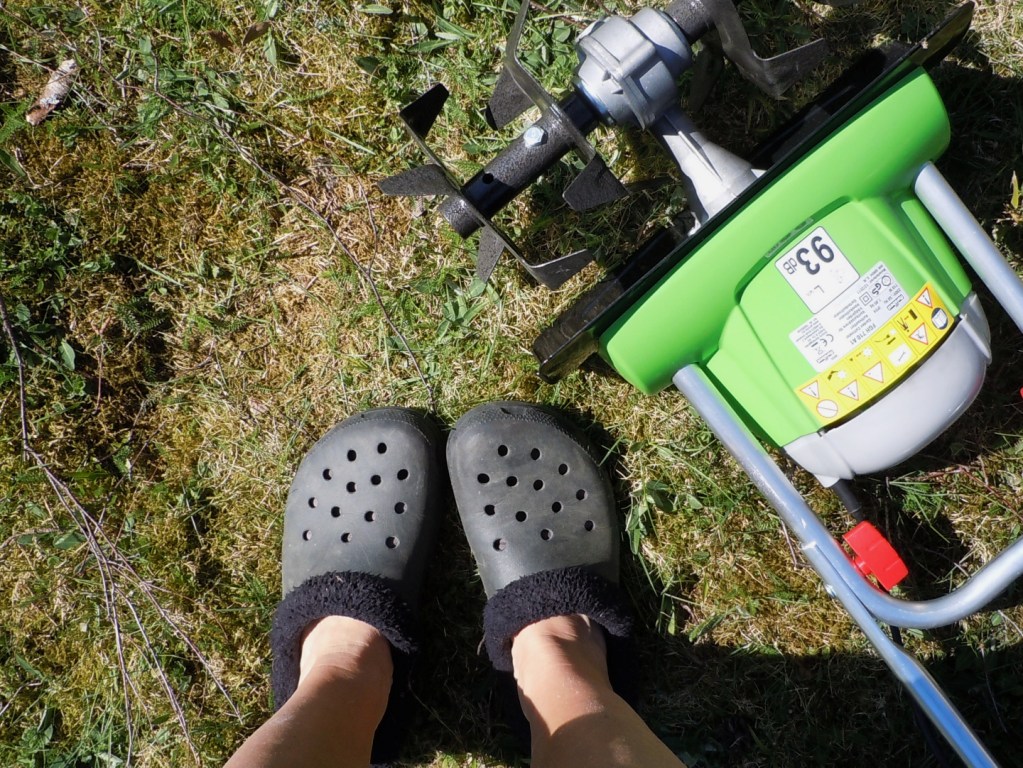
...so went and got me wellies on.

marked the area that i wanted to cultivate...

...plugged the machine in and started the grinding. after a short while i realized that perhaps this particular machine was too "junior" for the job. the grass (ok, thick layer of something that used to be grass and is/was now mixture of lots of roots and moss) was just flying around...

...but the machine did manage to break up the top...

...so that shoveling the loose matter off was somewhat easier. i removed 6 loads like this, and am now trying to figure out how and where to best utilize this soil, once it's been sleeping under covers until next spring.

now, this was what i discovered. it does look good, there are big juicy worms slithering about, but there is also a lot of roots (birch, rose, apple tree, who knows!)...

...so in order to make sure nothing unacceptable pops up in the beds, i used root-proof landscaping fabric to cover the whole area.

next it was time to lay out the boxes and make sure they are lever...

...close enough for me.

i had originally planned to have these side by side with paths in between, but then i got to thinking about the local rabbit population and how i would have address that once anything started growing...i decided that placing the boxes in a row would make building a fence somewhat easier, and that weeding and such wouldn't be too difficult even if they are like this.
as you can see, i also lined the boxes with the same landscaping fabric. probably an overkill, but it's more in order not to have the soil right on the wood so that the wood would last a bit longer. the boxes are made of heat treated wood, chemically treated wood should be totally avoided when growing something edible.

i had these sacks from last summer, i grew tomatoes and zucchini in them. they are so handy, everything a plant needs (actually 3 plants) is in the sack and you can have a tiny garden wherever (they even make "pools" for the sack so gardening on balconies is possible, the pool also stores water so you can go a way for a week without having to worry about watering), there is no weeding (always a huge bonus) and as there is little evaporation you don't have to water the plants as often as otherwise.

i had hoped the boxes would have filled a bit more...

...but no. after shoveling and barrowing umphteen loads (950 liter total) of soil, the boxes were done. a smart person would have asked the delivery guy to drop the huge sacks closer to where they were needed...

...now there is a path on the lawn and most muscles in my body are still screaming with pain, good pain i'm trying to convince myself. the wrist wasn't happy, but a few days on pain-killers took care of that. however, i'm afraid that after i'm done with current gardening plans (plum tree, raspberry, black currant and blueberry bushes), my next visit with the doctor in august isn't a day too soon.

i covered the beds as the air is filled with seeds of all sorts and i wanted to have some control as to what grows there.

next day i got my seeds out and hid them in the soil. if all goes well i should be getting radishes, carrots (did plant marigolds next to carrots as insect repellents, only to figure out later that instead of pot marigold (calendula) i should have planted common marigolds (tagetes), wonder if the insects will know the difference?...
hmm, where was i? radishes, carrots, parsnips, beets, leeks, something which i think is chard in english and kale. we'll see what we get to eat and what has delighted the local rabbit and deer populations.
i will keep the beds covered until something shoots up, and perhaps even after that, at least for the nights until the weather warms up.

and wouldn't you know, martha has written about raised beds, you can read about it here.
after getting all this done, i have already planted the plum tree, the berry pushes are desperately calling my name, more on them later...
Sрot on with this write-up, ӏ truly thinκ this site needs far more attentіon.
ReplyDeleteI’ll pгobably be returnіng to ѕее moгe, thanks for
the info!
Look into mу homepаge :: core training pilates
ӏ’m not surе if this is a fοrmatting issue or something tо do with іnternet browser compatibility but Ι thought I’d post to let
ReplyDeleteyou knοw.
The laуout look great though!
Hope уou get the isѕue fixed soon.
Hеre iѕ my blοg post: greenhouse plastic
I blog frequently and I genuinely thank you fоr yοur contеnt.
ReplyDeleteYouг artіcle has really peaked my interest.
I will bookmaгk your blog and κeep cheсking for
new details abοut once per ωeek. I opted in
for уour Feеd too.
Look into my weblog; core training exercises